
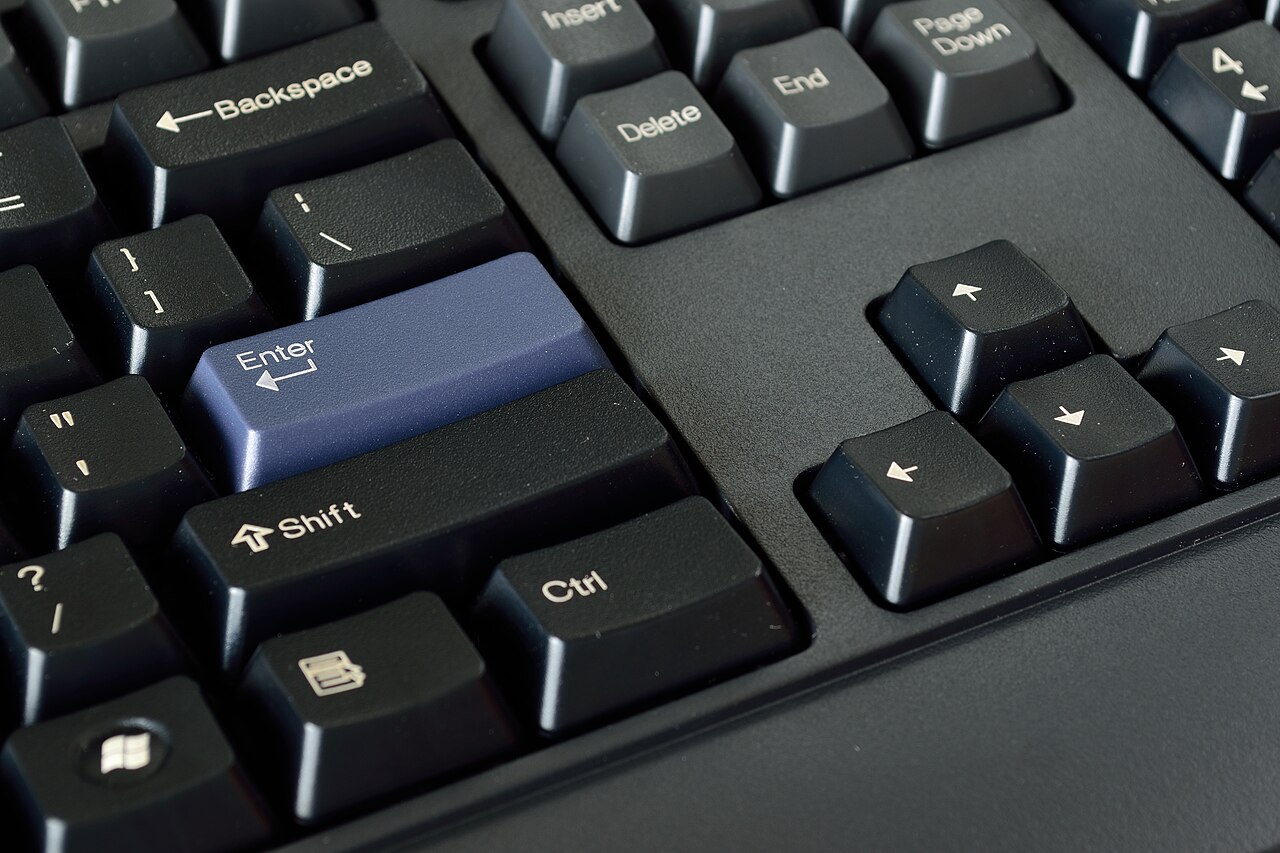
From a five-minute wipe-down to a full deep clean with the keycaps off, here is how to keep your keyboard working and looking its best without damaging anything.
Quick hits
- Unplug the keyboard and take a photo of the layout before any cleaning, especially before removing keycaps.
- Hold compressed air upright and use short bursts so cold liquid propellant does not spray into the switches.
- Wash keycaps in lukewarm, soapy water, rinse well and air-dry them upside down for two to three hours before reinstalling.
- Clean the plate with a brush, compressed air and spot-applied isopropyl alcohol, but never rinse the keyboard itself under water.
- Do a quick clean every two to four weeks with heavy use and a deep clean every few months or when keys feel rough.
Keyboards collect grime faster than any other part of a gaming setup. Crumbs fall between the keys, dust settles on the plate underneath, and the oil from your fingers builds a film on every cap you press. Left alone, that buildup can make keys feel rough, stick or even register erratically, and hair working its way inside can make some boards act strangely. Routine cleaning takes about fifteen minutes, a deep clean takes a little longer, and you probably own most of the supplies already.
What You Need
Everything on this list is cheap, and most of it is already in a drawer:
- Compressed air (a can runs about $6 to $11)
- A keycap puller, though many mechanical keyboards include one in the box
- Isopropyl alcohol and cotton swabs
- Mild dish soap
- Microfiber cloths
- A soft-bristled brush; a clean toothbrush works
- A large bowl
Skip the cleaning gel and putty sold for keyboards. It picks up dust, but it leaves residue behind, gets dirty fast and breaks down into a mess that is worse than the dust.
Step 1: Unplug and Get Set Up
Unplug the keyboard from the computer before you touch anything else. For a wireless board, switch it off and remove the dongle too. Water and live electronics do not mix, and one stray drop can short the whole thing out.
Next, take a photo of the keyboard with all its keys in place. Keyboards often have special keys and unusual layouts, and the photo becomes your map when everything goes back on. Then set up on a towel or a light-colored surface, which keeps small keycaps from rolling off and makes them easy to spot.
Step 2: Do the Quick Clean
If the board just looks dusty, this step is the whole job, and it takes about five minutes.
- Hold the keyboard upside down over a trash can and gently tap the underside so crumbs and debris fall out.
- Sweep between the keys with a soft brush to push out anything left behind.
- Blow out the rows with compressed air, moving in a zigzag pattern across the board. Keep the can upright and use short bursts. Tilting the can or holding the nozzle in one spot can spray cold liquid propellant into the switches.
- Wipe the keycaps with a microfiber cloth, barely damp with water if the shine is from finger oils.
Quick cleaning is a repeat job, not a one-time fix. Wipe the board down every two to four weeks with heavy use, or monthly with lighter use.
Step 3: Pull the Keycaps
Plan a deep clean with the caps off every few months, or whenever the keys feel less smooth than they used to or you can see dirt packed between them.
Grip a keycap with the puller, hook both sides under the bottom edge, and pull straight up. Wire-style pullers are the gentlest option because they grip the sides without touching the switch. Set each cap aside in rows that mirror the layout, or trust the photo from Step 1.
A few cautions:
- Spacebars and other stabilized keys sit on wire bars underneath. Pull them gently and straight up so you do not bend the stabilizer.
- No puller? Bend a paperclip into a U shape and hook the ends under a cap, or pry carefully with a plastic card. Metal tools such as screwdrivers scuff and dent keycaps easily.
- Laptop-style and low-profile keyboards often use fragile hinge clips under each key, so leave those caps on and clean around them instead.
Step 4: Wash the Keycaps
Fill a large bowl with lukewarm water and a small amount of mild dish soap. Drop in the caps and let them soak, swirling them now and then. Thirty minutes handles a typical level of grime.
Scrub caps with caked-on dirt using a soft toothbrush. Most keycaps survive soapy water without trouble, but they are not equally tough: ABS plastic scratches and dulls more easily than PBT, so wipe ABS caps with a soft cloth and save the firmer scrubbing for PBT.
Rinse every cap under lukewarm water until no soap is left. Hard tap water can leave white streaks as the caps dry; a final rinse in distilled water avoids that.
Step 5: Clean the Plate and Case
While the caps soak, turn to the bare keyboard. Brush loose debris out from between the switches, then follow with compressed air in short, upright bursts. If crumbs or hair are wedged under the plate, shake the keyboard gently so the debris slips out through the switch holes. A vacuum with a small brush nozzle also works well.
For greasy film, wipe the plate with a microfiber cloth. Around the switch stems, dip a cotton swab in isopropyl alcohol and dab the edges. Go easy: alcohol works well in spots, but flooding a switch can damage it, and the board should dry completely before it sees power again. The same can of air works on PC vents and the mouse sensor while it is out.
Step 6: Deal With Sticky Spills
Watch out
Never wash the keyboard itself under running water, and never reach for acetone or other strong solvents. Liquid in the switches can short the electronics, and harsh solvents can strip the finish off keycaps and the case.
Sugary drinks are the worst case. Unplug the keyboard immediately, hold it upside down over a sink to drain, and leave it to dry fully before cleaning further. Once dry, treat it like a deep clean: caps off, keycaps washed in soapy water, and cotton swabs with alcohol on the sticky residue on the plate.
If soda made it into the switches themselves, cleaning may not fully restore them. On boards with hot-swappable switches, a switch puller lets you remove one bad switch and press in a replacement, which can save a keyboard that would otherwise be trash.
Step 7: Dry, Reassemble and Test
Dry the keycaps upside down on a towel for two to three hours so water drains out of them. This is the step people rush, and it is where deep cleans go wrong: a cap that still holds moisture can drip into a switch the moment you press it back on.
Reassembly is the photo in reverse. Align each cap’s cross-shaped stem with the stem on the switch and press down firmly until it seats with a click. Work row by row, checking the photo as you go, and give the spacebar extra care with its stabilizer.
Before you launch a game, open a text document and press every key. A cap that sits crooked needs a reseat, and a key that does not register usually means the stem missed the switch, so pull the cap and press it on again.
Habits That Keep Your Keyboard Clean Longer
A few small habits stretch the time between deep cleans:
- Keep snacks and drinks away from the board. Crumbs and spills cause most of the damage.
- Do the quick clean from Step 2 on a schedule rather than waiting for visible dirt.
- Wipe the keys with a dry microfiber cloth after long sessions to slow the oil buildup.
- Watch for warning signs. Keys that feel gritty, stick or double-register mean it is deep-clean time, not replacement time.
Cleaning day is a good moment to wipe down the screen as well, and our guide to choosing a gaming monitor covers the display specs if you ever upgrade it. If the mouse has been acting up instead, our guide to what polling rate means explains the spec that shapes how quickly your clicks register.
Player questions
How often should I clean my gaming keyboard?
Wipe it down every two to four weeks with heavy use, or monthly with lighter use. A full deep clean with the keycaps off is worth doing every few months, or whenever keys feel less smooth or dirt is visible between them.
Can I wash keycaps with dish soap?
Yes. Lukewarm water with a small amount of mild dish soap is the standard method. Rinse thoroughly and let the caps dry completely before pressing them back on, since trapped moisture can get into the switches.
Can I clean my keyboard with water?
Only in specific places. Keycaps can be soaked and rinsed, and a microfiber cloth can be barely damp for wiping. Never wash the keyboard itself under running water, because liquid in the electronics can short it out.
What should I do if I spilled soda on my keyboard?
Unplug it immediately, hold it upside down over a sink to drain and let it dry fully before cleaning. Then remove and wash the keycaps and lift sticky residue off the plate with cotton swabs and isopropyl alcohol.
Games, platforms and settings change with updates, so check the official help pages for your platform if something looks different.